Adobe Illustrator is a vector-based program that is used to create various logos, icons, drawings, typography, and complex illustrations for any medium. Vector-based images, are images that are made up of various paths and anchor points, to give the image a nice crisp look.
Universal Laser system - key chain
For the key chain project, I didn't know where to start in terms of the design. I originally was going to just do the Detroit Lions Logo, but knowing me, that wasn't complex enough for my liking. So what I did was went through some of my old Photoshop files trying to find one that I liked that I though would look cool on a key chain. Once I found the right design, I put it a 2.75 x 1.75 illustrator file. next I drew a red rounded rectangle with a RGB red stroke of 0.0001 to ensure the cut lines. Next I added a 3/16 circle with the same stroke for an area to enable me to actually put it on a key chain.

Original Design
Unfortunately, I do not have the file with me, but the image used was turned to black and white to make using the Image Trace a little easier. After using the Image Trace, I messed around with the threshold until I got a style that I thought looked pleasant to the eye.
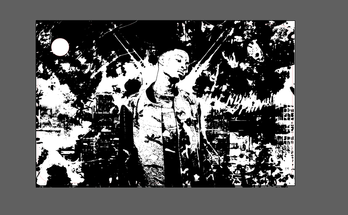
Image after image trace, and threshold adjustments
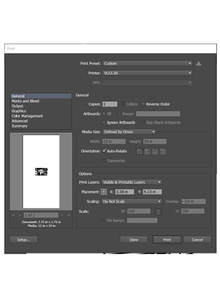
The next step was setting up the print to for it to be enabled to use the Laser Printer. This was done by choosing the VLS option on the print set up screen. Next we hit print and went over to the Laser Printer and opened the UCP program.
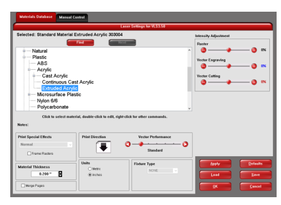
Next, with the actual printer set-up. We had to find the material we were using to print on (Extruded acrylic) This was done by going to Acrylic, then extruded acrylic. Next we had to find the thickness of the acrylic being used, this was done by using a caliper. After that go ahead and hit print, then the screen will close, and you hit print in illustrator
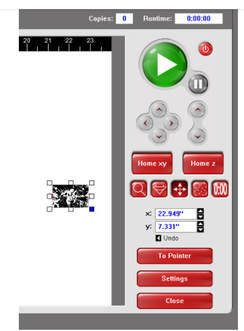
Going back to the UCP program, your key chain image should appear in the work space. I placed the acrylic in the top right corner of the printer just to make things simple. I pressed the second button (The one that looks like a cone) to move the laser into the proper spot. I then hit the cross-hair button I pressed the bottom right box, to help align the image with the laser. Next I hit the "To pointer" button which moved the image to the spot of the laser. Finally I hit print, and closed the lid, and watched it go.
Going back to the UCP program, your key chain image should appear in the work space. I placed the acrylic in the top right corner of the printer just to make things simple. I pressed the second button (The one that looks like a cone) to move the laser into the proper spot. I then hit the cross-hair button I pressed the bottom right box, to help align the image with the laser. Next I hit the "To pointer" button which moved the image to the spot of the laser. Finally I hit print, and closed the lid, and watched it go.
Placing the acrylic in the top right corner
Moving the key chain image and pressing the print button
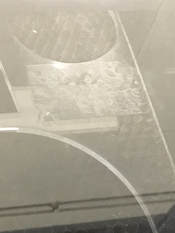
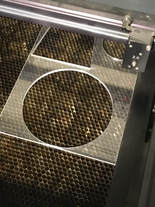
Printer in action, printing the image
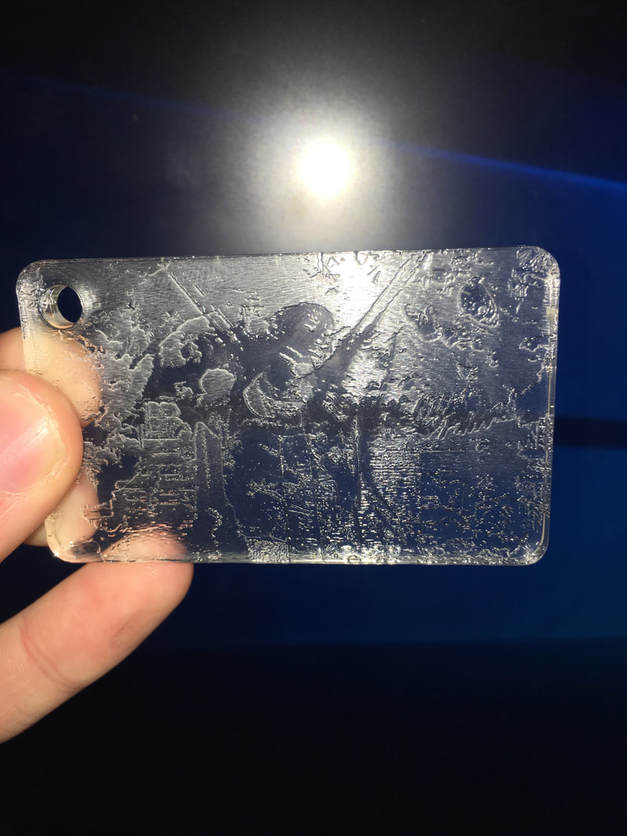
Final Product
Vinyl Names
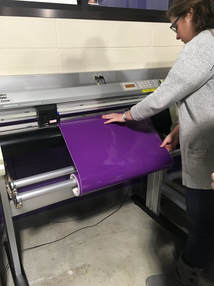
The vinyl cutter, is used to make decals, not stickers. Mrs. Proctor first showed us how to load the cutter. To successfully load it you: have to lift up the wheels on the machine, line up the sheet with the guide, and lower the wheels to stabilize it.

The next steps are unfortunately undocumented in pictures. But once you vinyl is cut out, you have to weed the out line of it, so only the letters are left. Some letters have enclosed/ additional parts to them; such as the "i", "B" and "a" for these we used a dental tool to help take out the inside pieces. After that you have to get a piece of transfer tape and put it over the letters, then you grab an applier (a credit/debit card works well too) and you push down hard and move it across the entire piece of tape until all of the pieces are applied. Next you move the tape over the spot on the notebook where you want the name to be, reapply the transfer tape, and push down again with the applier/ card and the decal should come off. Additional weedling may be needed.

